Proxmox Server 2
December 14, 2025
I’m a bad person!
Well, actually, I’m a bad homelab manager. I’be been running my Proxmox lab with no redundancy and few backups. And I’d like this server to run Docker containers for me. As I’m not enamoured with LXC, I will build a VM for my containers.
To address this terrible state of affairs, I need a new Proxmox server and this is how I built it.
I’m repurposing an old PC (HP EliteDesk 800 G1 SFF). Compared to other systems in my homelab, it’s a bit underpowered, but it has 8GB RAM which is good and I donn’t think the load I’m likely to put on it will stress it.
Here are the main steps in my build:
- Create a bootable USB drive with Proxmox VE’s latest version
- Boot from the USB and install Proxmox VE
- Run a script to create a CloudInit VM template and close it to a VM
- Create the VM and install the requisite packages for Docker
- Create some containers in the VM
- Traefik
- Homepage
- Some sort of monitoring
I will be doing this from my Windows 11 PC.
Creatiog a bootable USB drive with the ISO file
I haven’t documented this step as there are enough tutorials and videos that take one through this process
I’ll be using Rufus to wite the ISO to the USB.
Here is some documentation from Rufus’ site.
And here’s a random video showing you the process
Once the ISO has been written to the USB drive, I can continue to the next step, installing PVE to the HP system.
Boot from the USB and Install Proxmox
Again, I haven’t documented this step as there are many videos out on the web that covers installing Proxmox.
Post-install steps
The first thing I did after installing Proxmox was to download and run some of the helper scripts. They can be found here.
The one I’m particularly keen to run is called “PVE Post Install” whose description is: This script provides options for managing Proxmox VE repositories, including disabling the Enterprise Repo, adding or correcting PVE sources, enabling the No-Subscription Repo, adding the test Repo, disabling the subscription nag, updating Proxmox VE, and rebooting the system.
This script will update the configuration to use the no-subscription repo and disable the nag screen you get every time you connect to the PVE web interface.
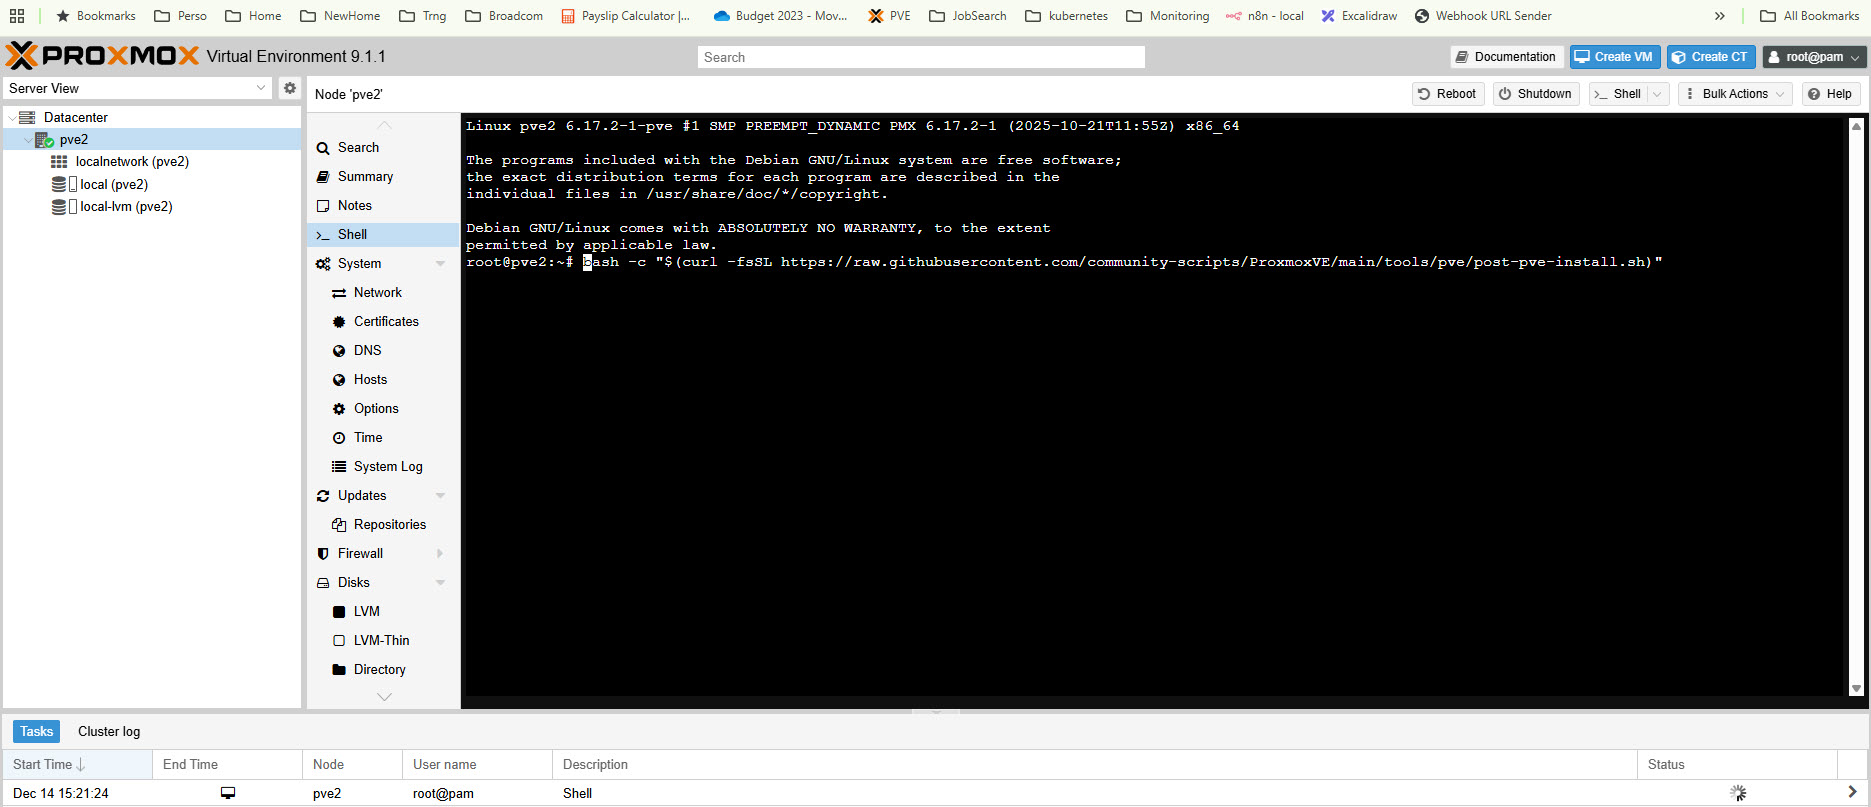
Running the script is easy. Select you PVE server in the PVE Web UI, then select Shell. From the documentation of PVE Post INstall, copy the command and paste it into the Shell window.
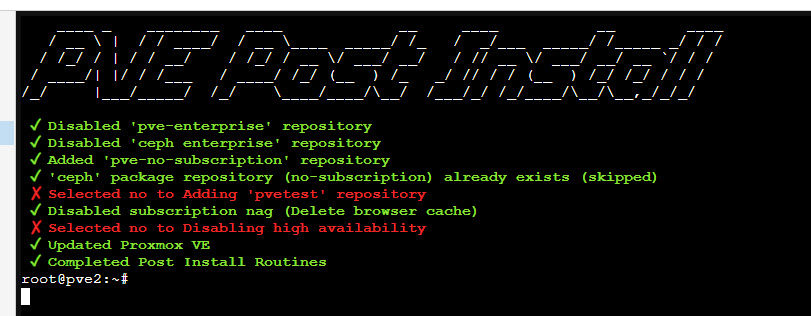
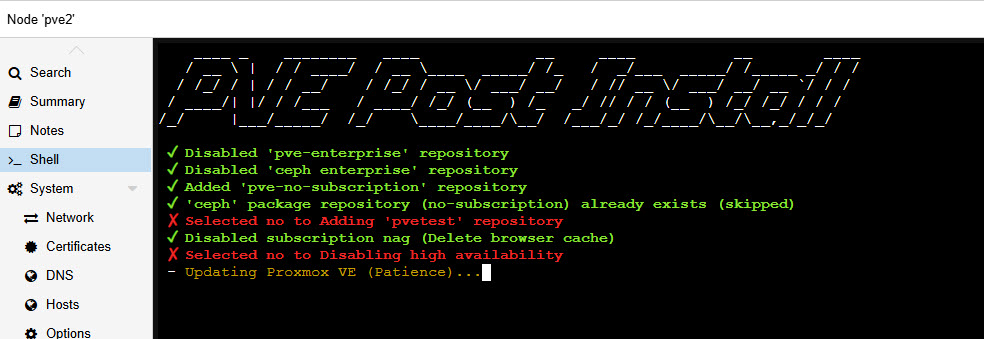
Once you’ve answered all the prompts, the script applies the changes:
Reboot to complete the process:
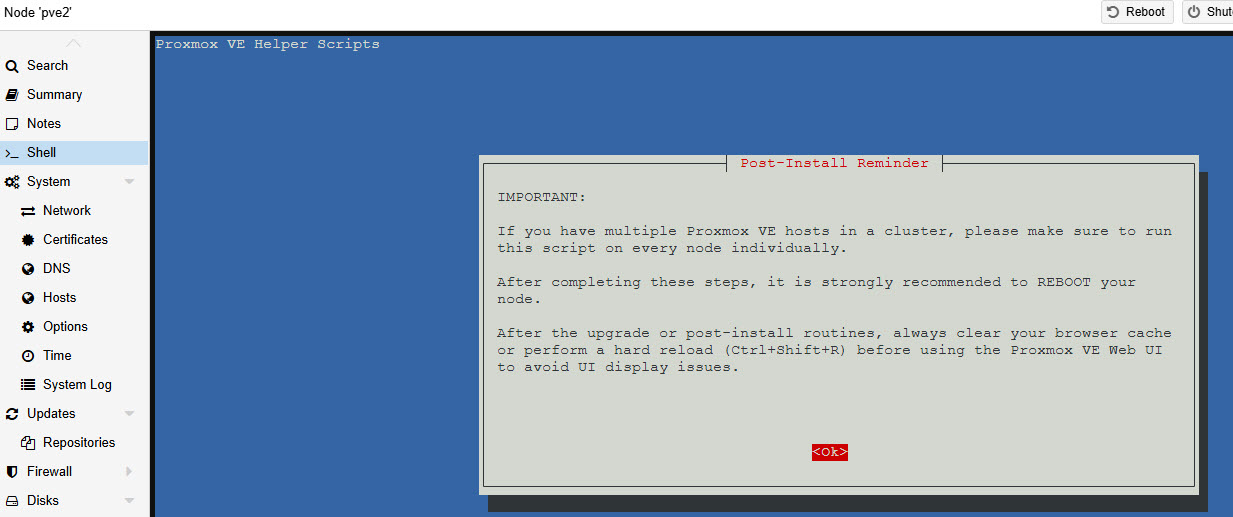
The next screen allows you to reboot without leaving the script.